
Operational guide · Updated September 17, 2026
How to Use MiniMax H3 Max
Follow this walkthrough to create a video on this site, review the result, and download your finished clip. Follow the steps below, then use the MiniMax H3 Max AI video generator to create your own clip.
Start with Text to Video if you do not have an image. The steps below cover the settings, account prompts, and result controls you will encounter along the way.
Before You Start
Have a scene in mind and check your account before submitting your first generation.
You can begin with a text description or prepare an image for Image to Video. For a first attempt, choose one subject and one action so you have a clear way to judge the result.
Sign in with the account you intend to use for generation. Check the credit requirement shown with your current settings before submitting. If the site asks you to sign in or obtain credits, complete that step before continuing.
This walkthrough uses a 5-second, 16:9 clip at 768p as an example setup, not a recommended setting for every project. Use the options available to your account. For a breakdown of rates and site credit packs, see H3 Max pricing.
The main button opens the homepage generator without preloading a prompt or settings. Follow the walkthrough below and check every value before submitting.
Create Your First Video with H3 Max
Work through the form, submit one task, and review the finished video before starting another version.
1. Open the Generator and Sign In
Open the generator on the homepage. You can prepare the prompt, settings, First Frame, End Frame, and reference media before signing in. The current browser tab stores that draft locally and restores it after the sign-in redirect. Check the restored files and settings before you submit the generation.
- 01Login
2. Choose Text to Video
Select Text to Video for this walkthrough. This lets you begin without uploading an image. If you already have a picture you want to animate, use the image workflow below instead. Check the selected mode before entering your scene so you do not leave a required upload empty in a different mode.
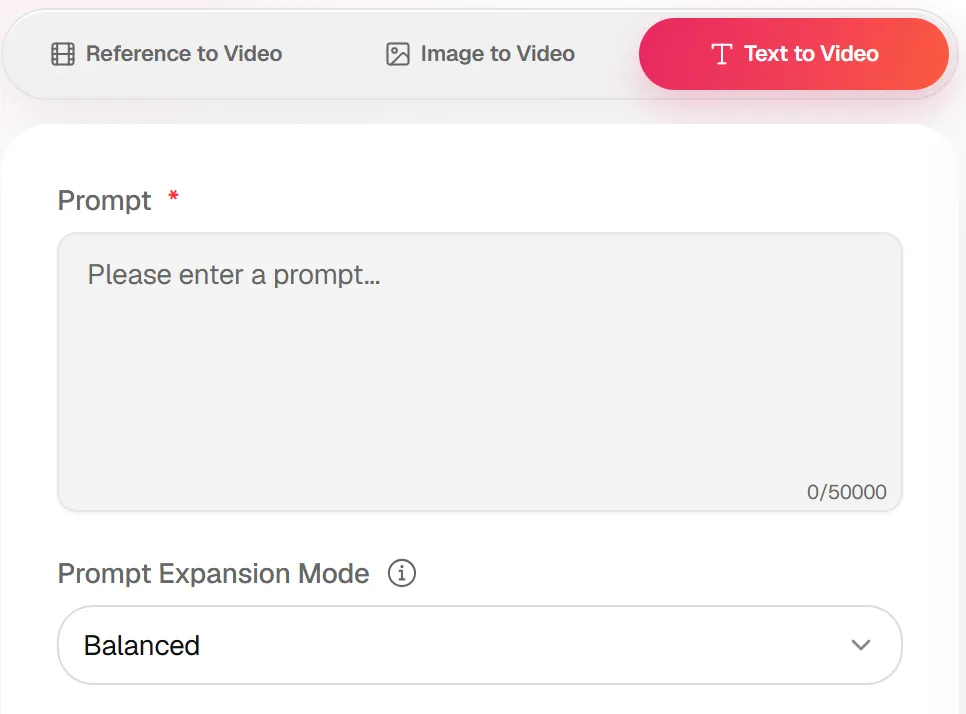
- 01Select Text to Video
- 02Enter your prompt
3. Enter a Short Scene Description
Describe the subject, what moves, and how you want the camera to behave. Add sound direction if it matters to your scene. For this exercise, keep the scene focused on a desk lamp and a single camera movement. You are testing the workflow, not trying to fit several unrelated scenes into one clip. For help developing the wording, open the H3 Max prompt guide.
4. Set the Output and Check Credits
Choose the resolution, aspect ratio, and duration in the form. For the example setup, select 768p, 16:9, and 5 seconds. The form also offers 480p and 1080p, plus a duration control from 5 to 15 seconds. Check the displayed credit requirement after changing your settings: standard H3 Max uses 1 credit per second at 480P, 2 at 768P, or 8 at 1080P. The H3 Max resolution guide explains the available output sizes.
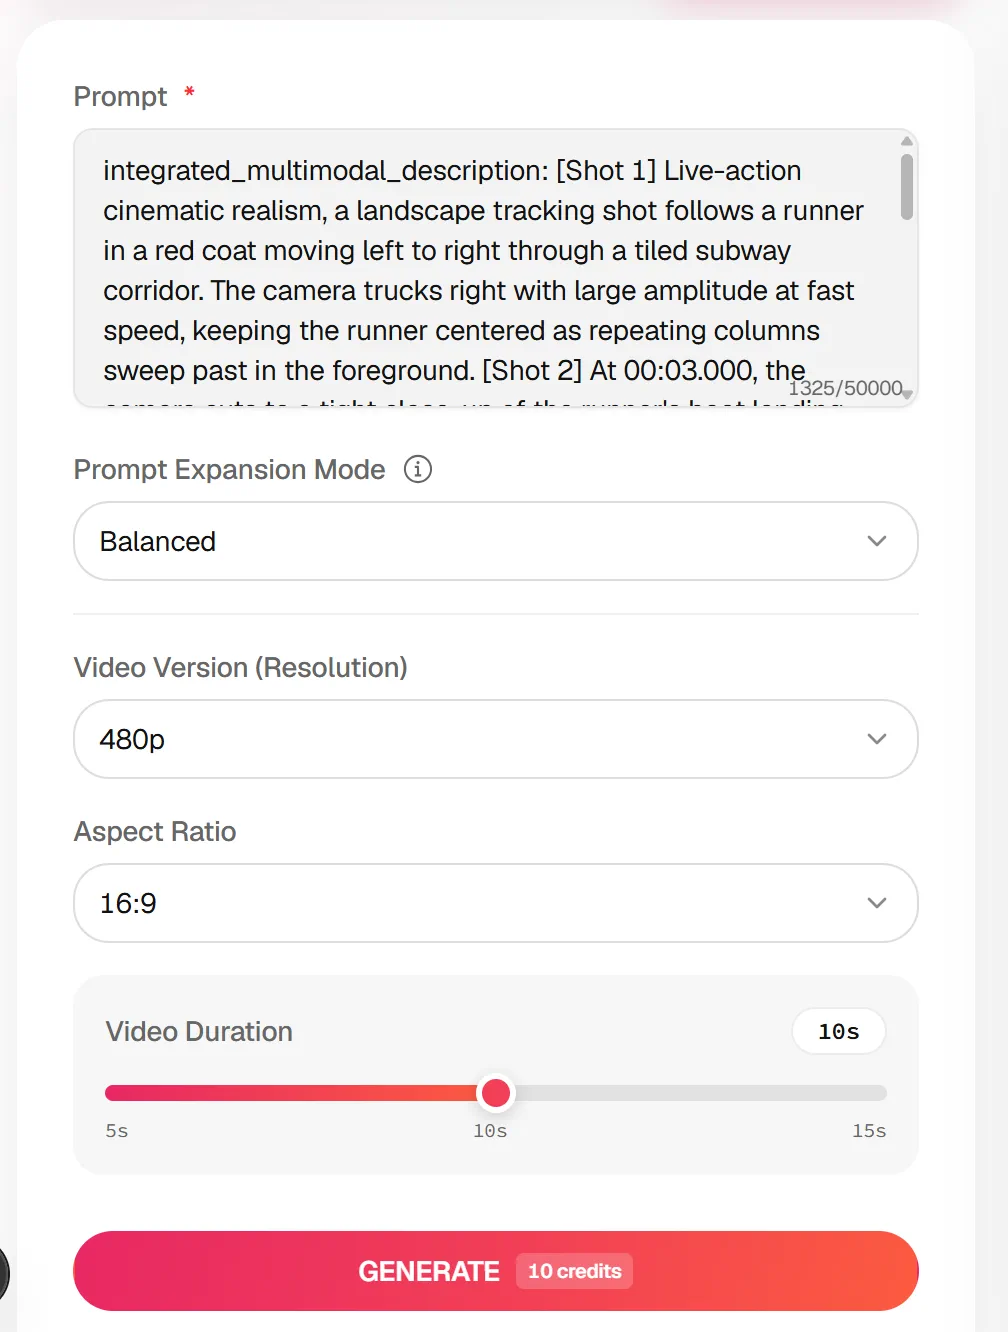
- 01Resolution
- 02Aspect ratio
- 03Duration
- 04Generate and credits
5. Generate and Follow the Task
Submit the form once and watch the task state. If you receive an account or credit prompt, resolve it before expecting a result. While a task is running, avoid repeatedly submitting the same form because the preview has not changed yet. Wait for a completion or failure state. The example video shown before generation is a demonstration, not evidence that your own task has finished.
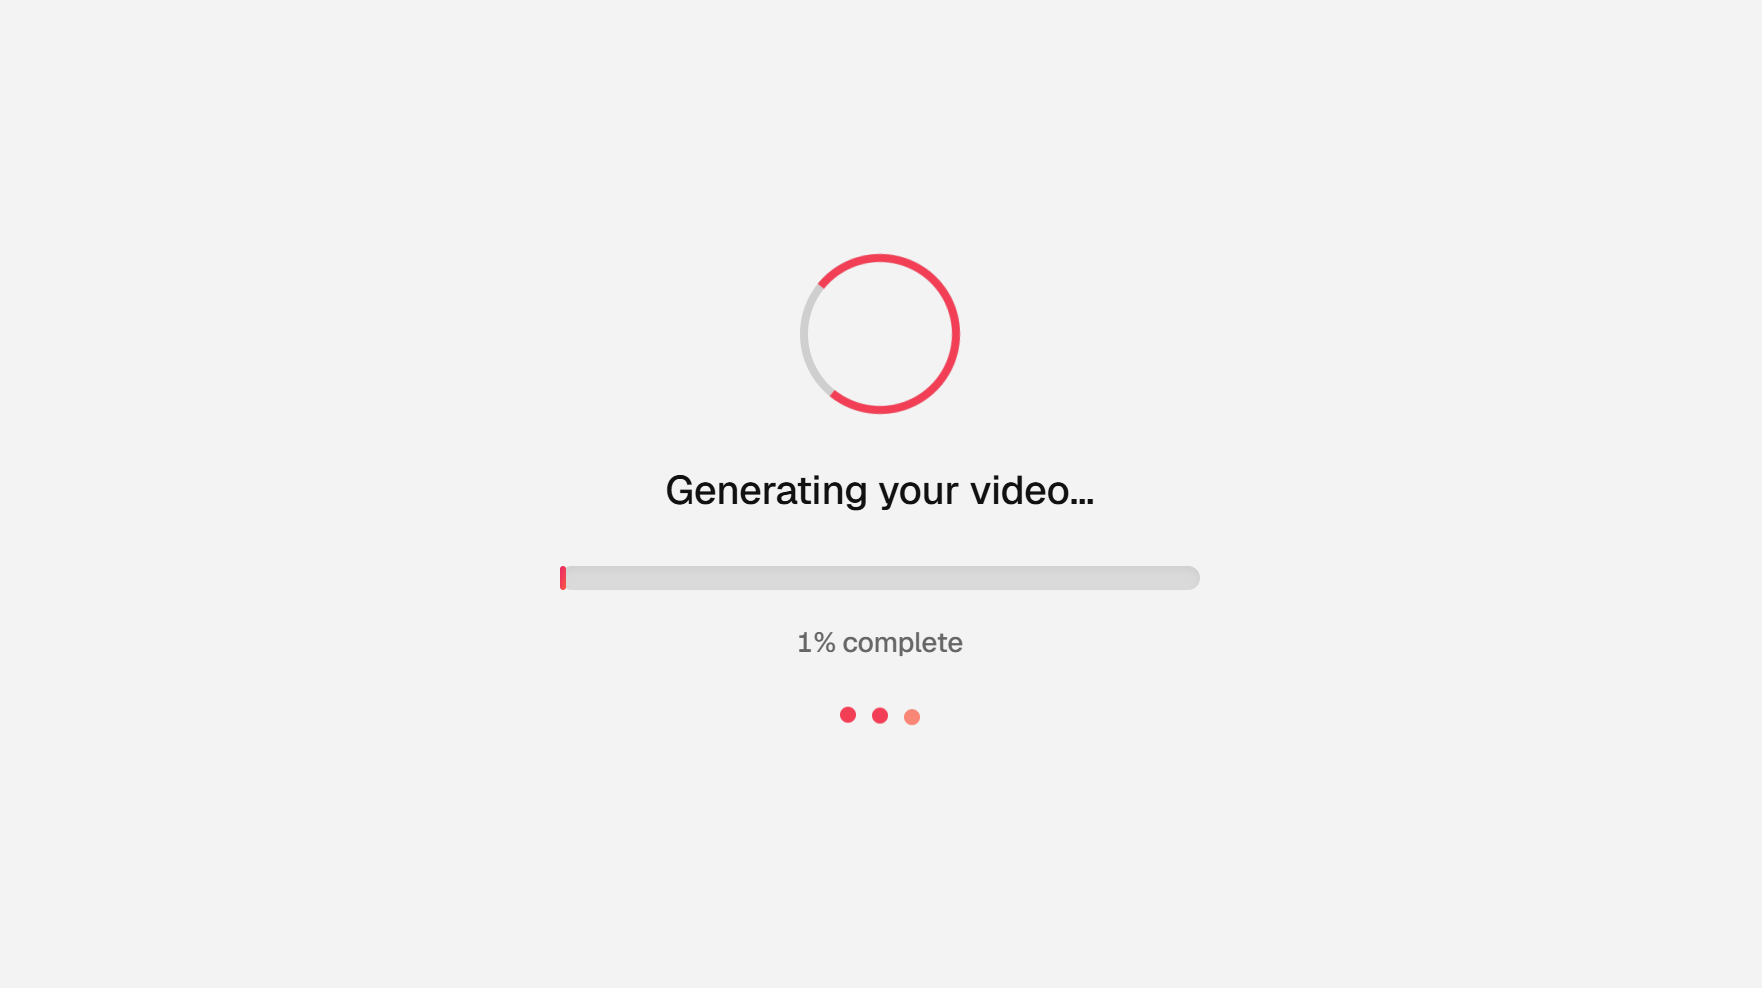
- 01Follow the task status
6. Play, Unmute, and Download
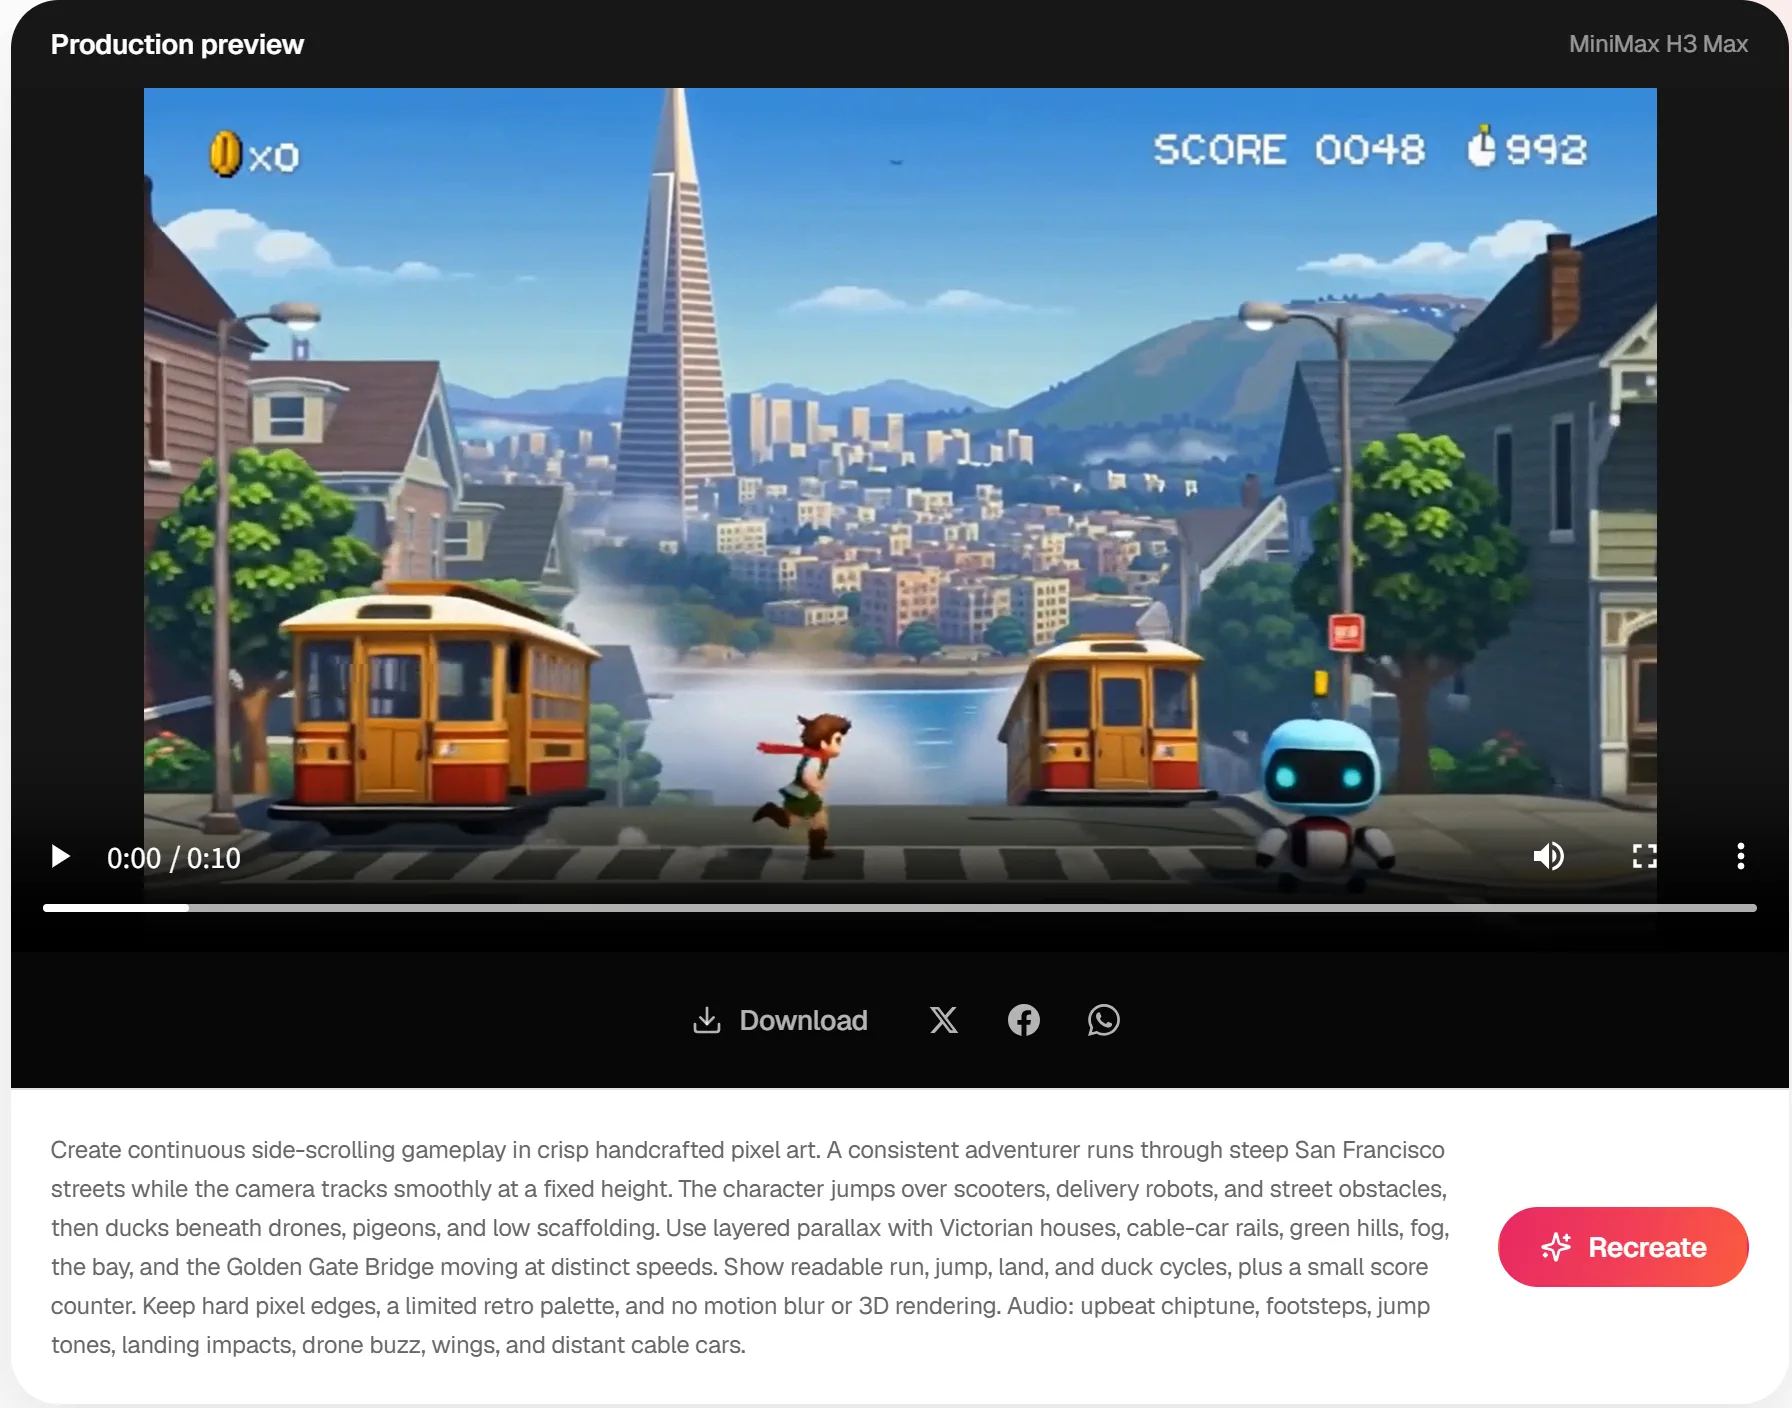
When your result is available, play it from the beginning. Use the sound control to unmute playback, then check the motion, continuity, and audio together. Decide whether the clip matches your original description before downloading it. Select Download for the completed result and open the saved file to confirm it plays. If you want another version, change one main instruction or setting so you can compare what changed.
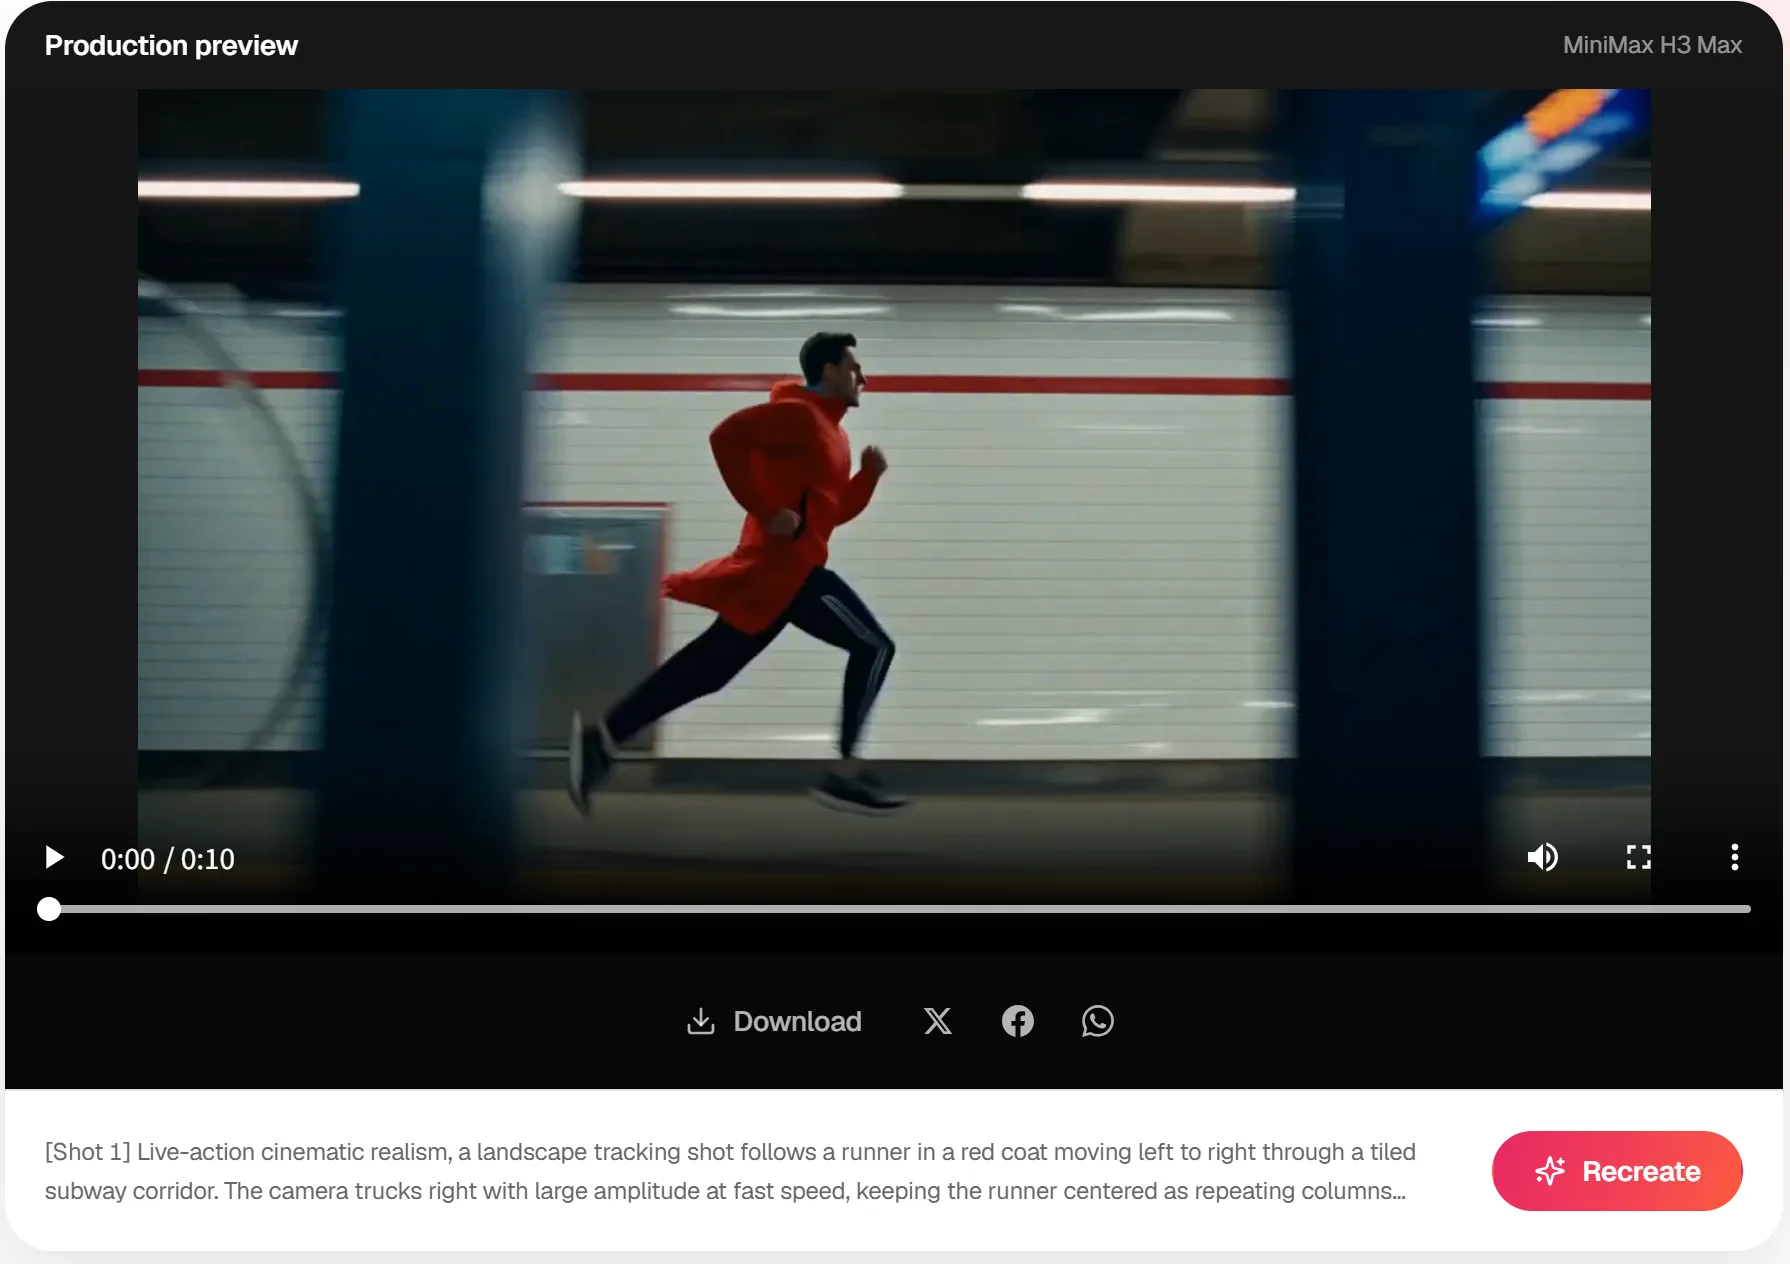
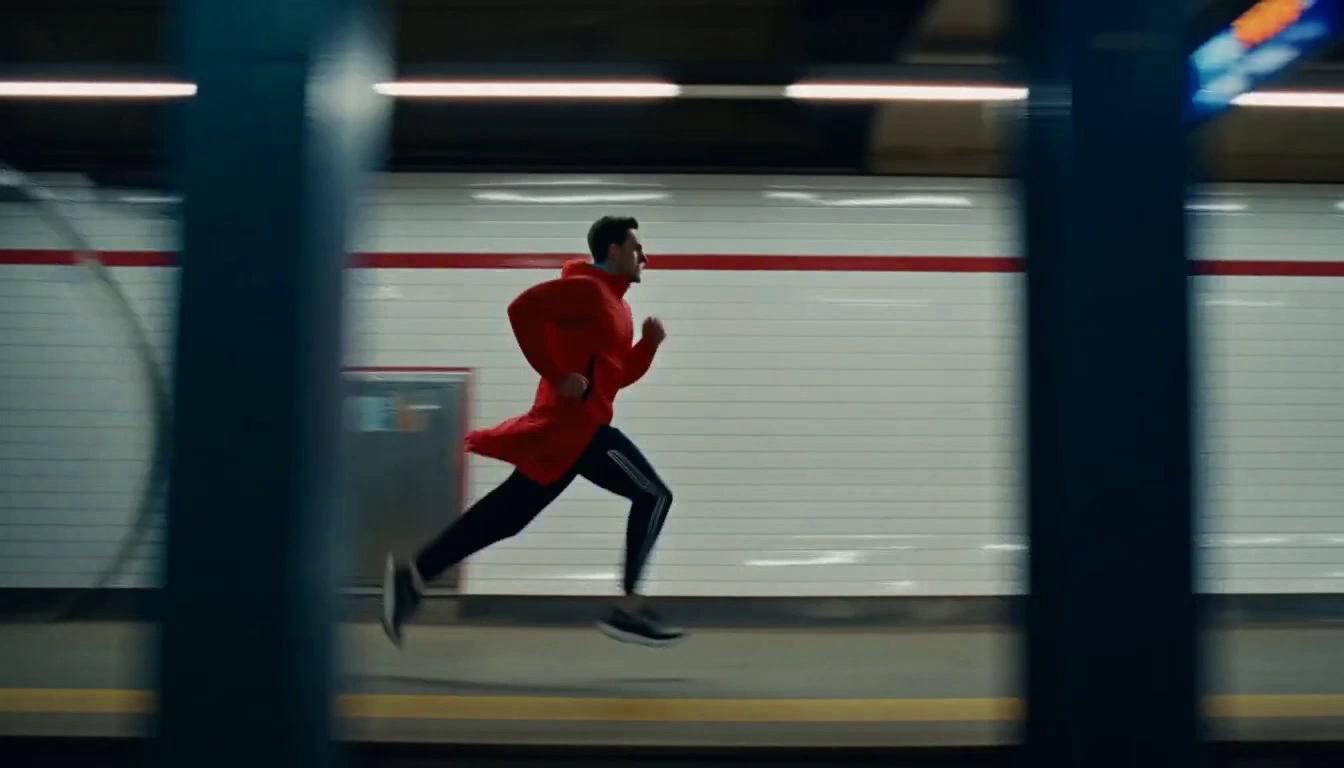
Play the supplied result below the completed preview: 1344 × 768, approximately 10 seconds. The full frame is shown without cropping. Playback starts muted; use the sound icon at the upper right to listen.
Start from an Image Instead
Switch to Image to Video when you want an uploaded picture to provide the starting frame.
Select Image to Video and upload your picture in First Frame. Check the preview before continuing. Make sure it is the intended file, especially if you have several versions with similar names.
The form also includes an optional End Frame. You can leave it empty for a first-frame-only attempt. If you add one, check both previews so you know which image starts the clip and which image supplies the ending reference.
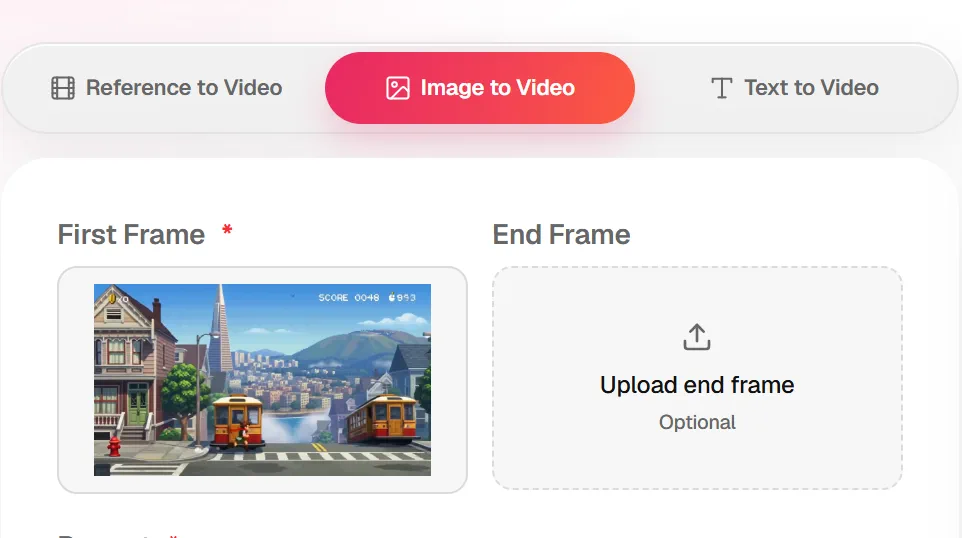
- 01Image to Video
- 02First Frame
- 03End Frame (optional)
Describe the motion you want to add rather than spending the whole description listing objects already visible in the picture. Choose your output settings, review the credit requirement, and submit the task.
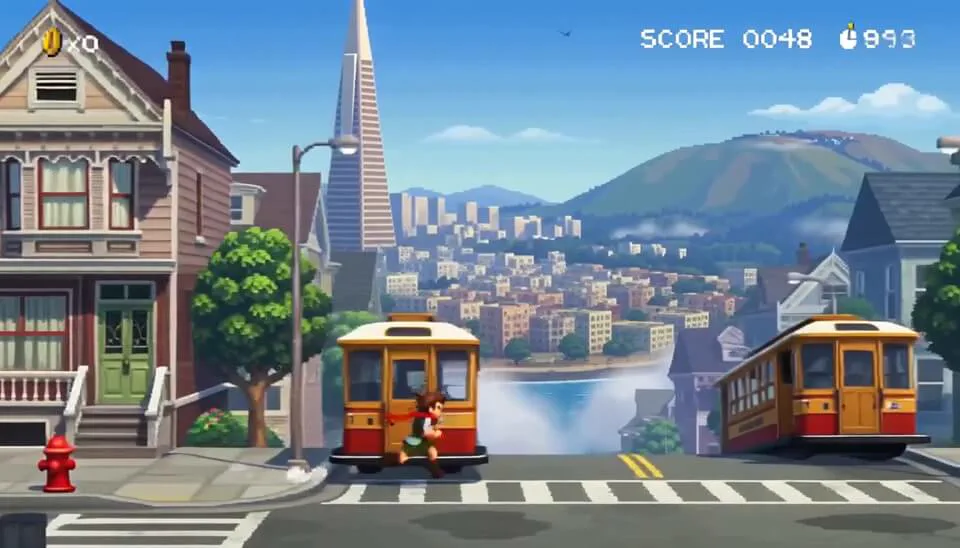
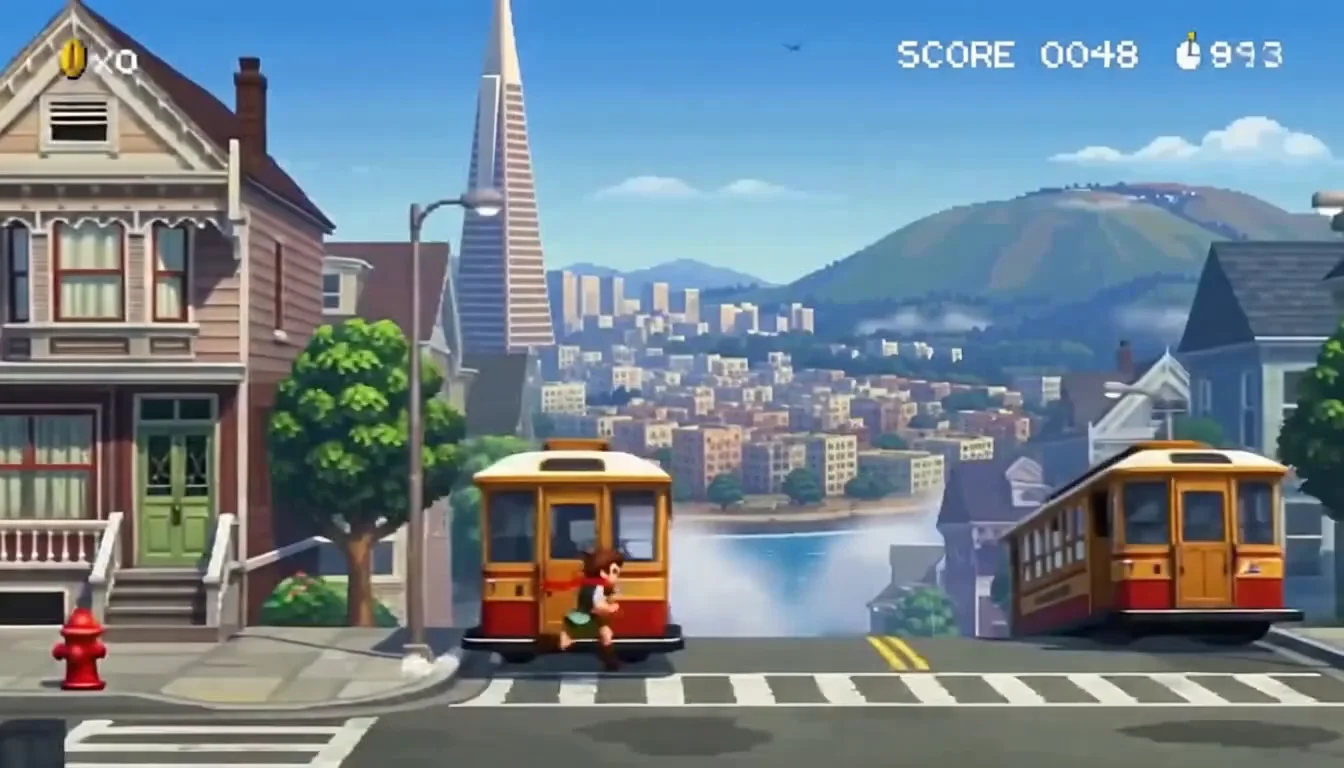
After generation, compare the opening of the video with your uploaded image. Check the subject and composition before judging the later movement. If you replace the image for another attempt, confirm that the new preview is present before submitting again.
For guidance on wording motion instructions, see the image-to-video prompting section.
Find and Reopen Your Videos
Use the recent-generation area below the preview to return to a completed result.
Look for the matching thumbnail and date, then select the completed item to open its details. A failed task is not a downloadable video. The arrow beside the recent items opens your profile, where you can look for other generations associated with your account.
If you cannot see the expected item, first check which account is signed in. A loading message or history error does not prove the video has been deleted. If the current result is still available in the generator, download it before leaving the page rather than relying on the history list as your only copy.
Recognize Each Generator State
Use the label, preview, and account message on screen to decide what to do next.
Empty
The form has no submitted task. Choose Text to Video, Image to Video, or Reference to Video, then provide the required prompt and source media for that mode.
Uploading
After you select Generate in an image or reference workflow, the action can show Uploading... while the selected files are transferred. Keep the page open and do not submit the same task again.
Ready to Generate
The required input is present and the main action shows Generate with the current credit requirement. Recheck the mode, prompt, duration, resolution, ratio, and account balance before selecting it.
Generating
The action and preview show Generating... while the task is running. Wait for a success or failure message; the demonstration video is not the pending result.
Success
The generated video replaces the demonstration preview and the Download action becomes available. Play from the beginning, unmute, review the result, and download the file you want to keep.
Failed
The interface displays the returned error and restores the form. Keep the message and settings, correct the stated problem, and avoid assuming every failure has the same cause.
Insufficient Credits
The site opens Add credits to keep generating and shows the required credits beside the current balance when both values are available. Choose a one-time pack or reduce a setting that changes the displayed requirement before trying again.
Retry
Use Generate again after correcting an input or account problem. After a completed result, Recreate starts another version; change one main instruction or setting so the comparison remains useful.
If You Cannot Finish a Generation
Check the state shown on screen before changing settings or submitting another task.
You Are Asked to Sign In Again
Confirm that sign-in finished and that the page recognizes your account. Keep a copy of your description before reloading the page. If the account still appears signed out, resolve that issue before trying to generate again.
The Form Asks for Credits
Review the requirement for the selected settings and the account balance shown on the site. Read any account restriction displayed with the form. Changing an unrelated prompt sentence will not resolve an account or payment requirement.
The Task Fails or the Preview Does Not Change
Read the displayed message and check whether the task is still running, has failed, or has completed. Do not treat the demonstration preview as your output. Keep the error message and your settings if you need to investigate further. Do not assume that every failure has the same cause.
Playback Is Silent or the Download Fails
Unmute the player and check your device volume first. If playback remains silent, review the actual result rather than assuming the switch adds missing audio. For a failed download, confirm the result still plays and retry the Download action. Open the saved file afterward to verify that the download completed.
Questions About Using H3 Max
Find quick answers to common questions about the steps in this walkthrough.
Do I Need to Sign In to Generate a Video?
Yes. If you are signed out, you can still prepare the complete form first. The generation action saves the prompt, settings, and uploaded media in the current browser tab before opening sign-in, then restores that draft when you return. Keep the same tab open and check the restored inputs before submitting.
Where Can I Find a Completed Video?
Check the recent-generation area beneath the preview. Select a completed item to view its details, or use the arrow to open your profile.
Can I Replace the Starting Image?
Yes. In Image to Video, replace the First Frame image and check the updated preview before submitting another task.
Does Unmuting Change the Generated Video?
No. The sound control changes playback. It does not generate new audio or revise the video you already created.
Create Your First Video
Start with one scene, check your settings, and review the result before making another version.